Stars and Noses
Welcome back! If you’re working on Merry Merry Snow Days with me, today is a great day because we’re going to make all five of the Ohio Star blocks in this quilt.
Ohio Stars
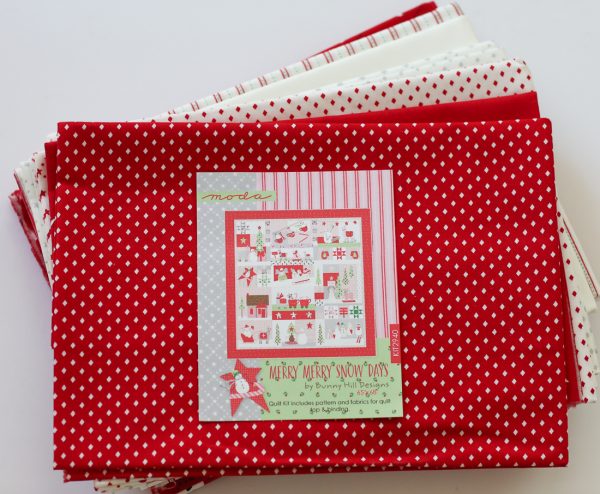
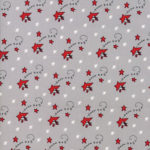
We’re still on page 5 of your pattern. I’ve used the same background for ALL the Ohio Star blocks, so pull the white on white snowflake print you’ll find in the large bundle shown below. It’s the fabric right above the stripe.
We’ve made the triangle squares slightly oversize. You’ll be cutting them down after you stitch and this should give you nice looking points.
Let’s cut that snowflake background fabric first. Cut (1) strip 3 1/2″ by the width of fabric (42″-43″). Then cut this strip into ten (10) 3 1/2″ squares. You’ll have about 8″ leftover from this strip so save it for the next cut.
Now cut a 2 1/2″ by the width of fabric strip from the snowflake fabric. You’ll need twenty (20) 2 1/2″ squares total, so cut this strip into seventeen (17) 2 1/2″ squares. Then cut three (3) more 2 1/2″ squares from the snowflake fabric left from the first strip. You should have a total of twenty (20) 2 1/2″ squares. Now you have plenty of fabric left over for the large “ground” snow in block five and the remaining applique snowmen.
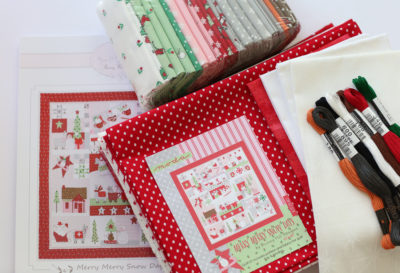
Let’s pull the star fabrics from the bundle you see on top of the photo, and the red grunge fat quarter from the fabrics under the floss in the photo. You’ll need the following fabrics:
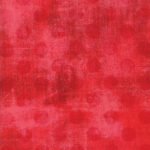
Now let’s make some Ohio stars following the directions on page 5 of our pattern. Here’s a cutting tip: cut only what you need from each star fabric (two (2) 3 1/2″ squares and one (1) 2 1/2″ square. If you’re cutting from a directional fabric make sure your center 2 1/2″ square is “fussy” cut.
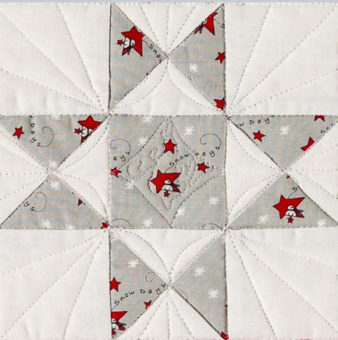
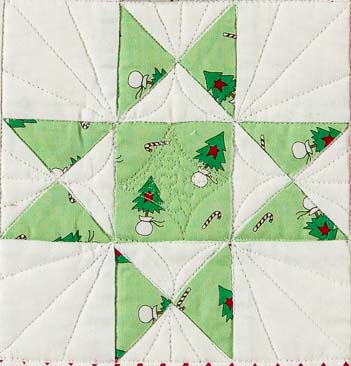
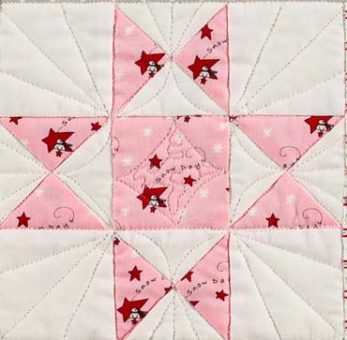
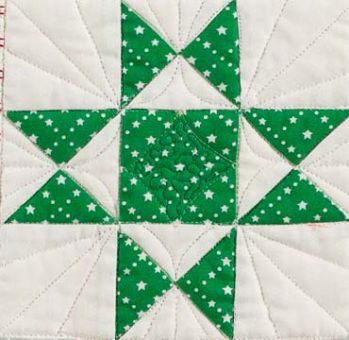
Cut and assemble the stars following the directions on page five. Here are my five stars and now you can really see the wonderful quilting Becky did:

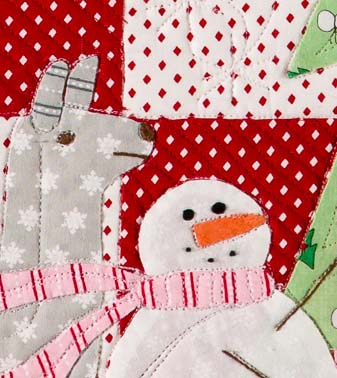
Snowmen Noses
Let’s talk snowmen noses. You may call these the dreaded noses, but really they shouldn’t be. You have so many choices when it comes to noses. I’ll tell you what I did and give you some options. You should choose the one that works for you.
All of the snowmen noses in my quilt are appliqued with the exception of block four and ten. Block four and ten have embroidered noses (the smaller the nose, the more difficult it becomes to applique).
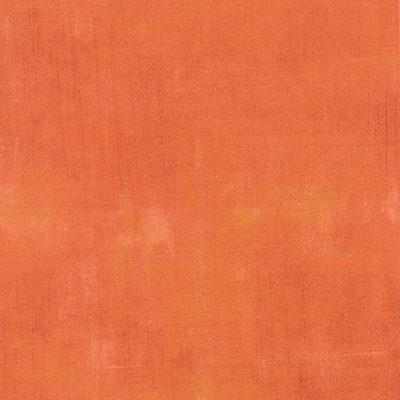
The nose fabric is the orange grunge fabric in the kit, and the embroidery floss is the orange floss. You should have plenty of orange grunge, so if you make a mistake, just cut another nose.
Here are the nose “methods” along with tips:
Applique noses: Don’t cut the nose until you need it. The templates are tiny and so is the fabric so it’s easy to misplace a nose. Cut the nose fabric 1/8″ larger than the template, (not 1/4″).
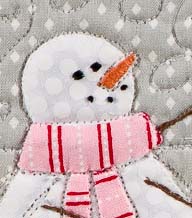
Embroidered noses: I’ve used a satin stitch on the embroidered noses, but you can use any stitch you like. You can fill them in with rows of back-stitches, stem stitches, and even just random straight stitches. If you choose a satin stitch, here’s a tip that helps: Using two strands of floss, outline the nose in a TINY back-stitch (this gives it some padding to stitch over). Take the floss down to one strand before you fill it in with the satin stitch. If you use two strands for a tiny satin stitch, the threads are more likely to overlap. One strand lays nice and flat. Work widthwise on the nose, not lengthwise.
Fusible Web Noses: If the thought of snowmen noses still scares you, try the fusible web applique method. Trace the nose pattern onto the smooth side of a piece of fusible web, iron to the wrong side of the nose fabric, cut out the nose, remove the backing and iron the nose to the snowman. Now simply place a few spaced satin stitches over the top of the nose to hold it in place.
I’ll be back tomorrow to get you started on block one! I’ll also have a fabric guide for all of the blocks that will help you determine which fabric goes where and I’ll give you a schedule of dates when I’ll be posting about each block.
You’ll have snowmen before Christmas!
Hugs,
Anne
3 Comments
Hildy
Thanks for sharing your tips! Appliqué is not my strongest side and the small pieces always scare me.
mimi'sdarlins
I love seeing the fabrics up close, they are so cheery and fun. About snowman noses…..when I was making all my Snowbound blocks, with at least one snowman in every block, I got so comfortable with embroidering noses, I didn’t mind them at all after about the third nose. As you said, you find a method that works for you and stick with it :)
DeAnna Dodson
I love this. What great step-by-step instructions and hint. You’re the best! :D