Let’s Make 101 Maple Street!
I was visiting Lori Holt’s blog and saw how she walks you through each of her quilt blocks. It really seems helpful and I’m not sure why I never thought of doing this myself. I’ve put it in my memory banks for my next block of the month.
Right now I’m waiting on fabric to arrive for my next market line and I have some down time in-between projects. I thought I’d give you some tips and pointers on 101 Maple Street.
If you’re making 101 Maple Street as a block of the month from a quilt shop, your life is going to be easy! Each month the shop will hand you the fabrics you need for that block. If you go into the shop to pick up your block you might even find a group and have fun stitching together.
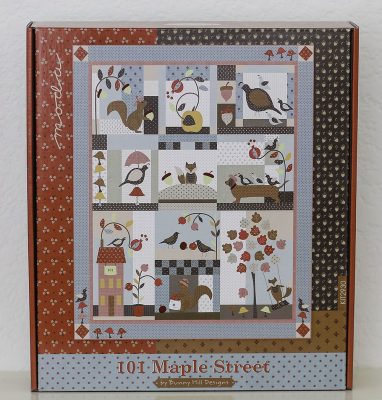
If you’re working from a kit, happy day for you! All the fabric you need is inside this beautiful box and all you have to do is sort it out! I’m here to help you.
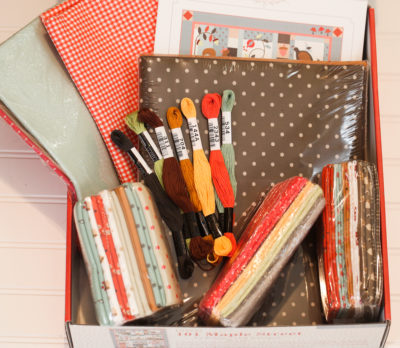
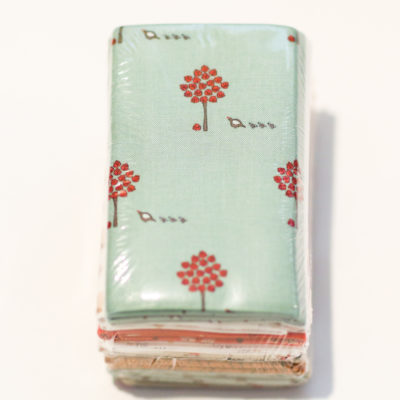
Take out the pattern and the floss. Look at the pattern back and you’ll see how easy it is to sort the bundles inside this kit. The Seafoam Maple Tree bundle consists of the first eight fabrics listed under fat quarters on the back of the pattern.
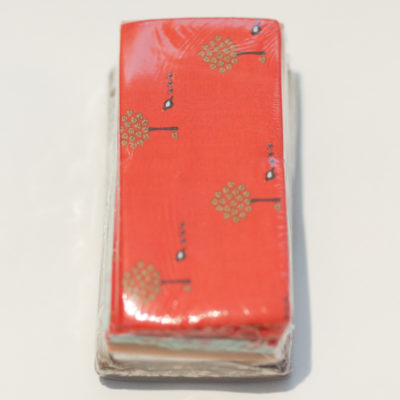
The Persimmon Maple Trees bundle consists of fat eights and 1/4 yards of the 101 Maple Street fabrics.
The final small bundle is made up of fat quarters and fat eights of the Bellas and essential dot fabrics used in the quilt.
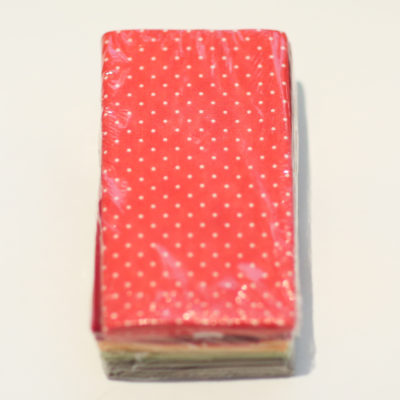
The remaining two packages inside the box are yardage cuts for the quilt. One is 101 Maple Street fabrics and the other is Bella and Moda Essentials fabrics. Inside the Bella yardage package, you’ll find a one-yard cut of Bella 9900-129 for all the bias vines in the quilt. It’s so close in color to 9900-128, it may be hard to tell the two apart in the color photos, but you only have 1/3 yd of 9900-128 and it’s just used as backgrounds in block three, eight and nine. I made all of the bias vines at once using my 1/4″ bias maker.
Check to make sure your kit includes a 1 1/2 yard cut of Essentially Yours Geranium Red Check. This was originally left out of the kit, but Moda caught the mistake right away and it should be included. If you have a 1 1/2 yard cut of the Geranium dot, set it aside for another project.
Now that we’ve gone through the fabrics, open your pattern and check to see that you have block three included. A few of the patterns had two of the border blocks instead of block three. I think we caught most of them before they shipped, but check to make sure.
If you’re cutting from a kit, page 5 is the most important page in the pattern. Take time to read through it and be sure and follow the directions for organizing the fabric.
Our 101 Maple Street quilt has been traveling to different quilt shops around the country.l Here’s where you can see the quilt over the next few months: Right now it’s at Lucky 2B Quilting in Pecatonica, Il and on Nov. 14 it’s scheduled to be at Hollyhill Quilt Shoppe in Wilsonville, OR.
I’d love to know what your favorite applique method is, along with your applique thread of choice. As we made this quilt I decided to use embroidery in place of embellishments. Do you like to embroider or would you rather have embellishments when possible? This is your chance to tell me what you like and don’t like! It helps me for future quilts.
For the next two days (through Sunday 10/7) you’ll find our 101 Maple Street Quilt kits on sale on our website!
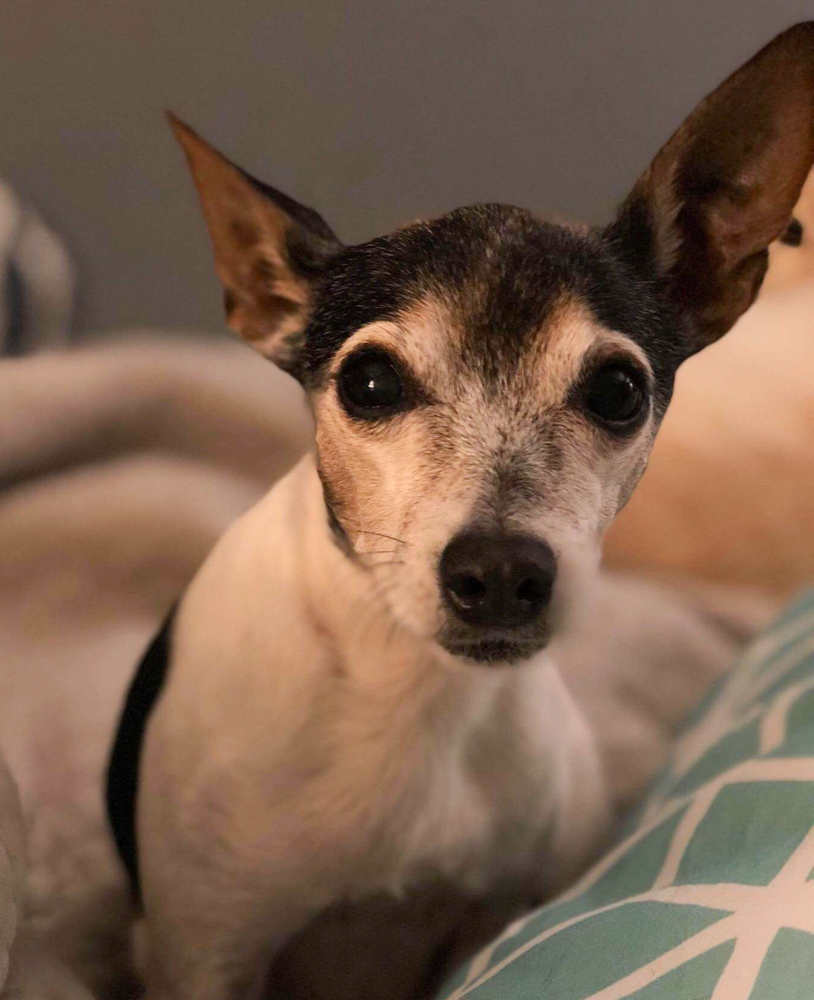
And while I’m waiting for my new fabric to arrive I’ll be telling you about another new arrival at my house. Wait until you see this one! Back soon!
Hugs,
Anne
Anne

15 Comments
Gale
Oh my, so excited about the new arrival!! Will it be furry I wonder? Love the quilt. I like fusible appliqué.
Anne
The new arrival is definitely furry!
DeAnna Dodson
This is SO cute. I just bought some of the Maple Street fabrics from my local shop. Every quilt ever should have some polka dots! I hope to get your pattern (or kit!) soon. When’s Christmas? :DI used to do backbasting, and I loved that, but I never could get repeated shapes to look identical to each other. Then a friend of mine showed me her applique — gorgeous Baltimore album wreaths with four or more of the same shape repeated perfectly. I had to know what she did. She showed me how to use the extra-thick freezer paper cut out by my Silhouette Cameo cutter (you can cut them out by hand just as well) and do the starch method of prepared edge applique. Every one of my pieces is absolutely perfect every time. My little OCD self is thrilled! Once the pieces are made, I use temporary basting glue to stick them in place until I can sew them down. So easy and so pretty!My favorite thread is Aurifil’s 80-weight cotton. Absolutely disappears into the fabric. I recently sewed down a leaf that had large pieces of bright orange, white white, and hot pink. I used bright orange to sew down the whole thing. You can’t see the stitches in the white or the pink at all. Love the 80-weight cotton! Love embroidery AND embellishments — depends on the quilt. Embellishments are great for wall hangings. Embroidery is better to cuddle up with. Looking forward to what you design next!
Anne
Deanna, I use the starch method too! When I first started I did needleturn applique (I think the last quilt I did that used this method was Baltimore Bunnies). The starch method allows me to preview how the block is going to look before stitching it down. I’m dying to try either the Cricut or Shiloutte cutter for the templates. I keep hearing about these and they sound so great. I think I’ll have to put one on my list for 2019!
DeAnna Dodson
Isn’t it great? It so changed my applique life! Definitely get a cutting machine. I love how I can modify shapes on my screen (for example, some hand drawn patterns aren’t very well engineered, but I can fix them before I cut them out so they work together). You will never go back! I needleturned my Baltimore Bunnies quilt, too, but now I want to make it again using this new method. I could just go on and on. :D And I’m SO looking forward to hearing about your new furry arrival. Pictures please! :D
Julie Zaloudek
Can’t wait to see what your new arrival is as well as your new fabric line! Going to Fall Market?
Anne
Hi Julie, I’m not going to Fall market. I’m still not sure when my fabric will arrive and there’s no chance of getting a quilt done in time. I will miss your candy corn and you so much!
Julie Zaloudek
I will miss seeing you, too! Hopefully next year