Machine Applique
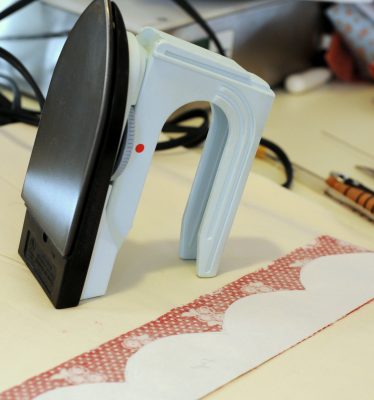
I finished the scallop border on Rabbits Prefer Redwork using invisible machine applique. That’s right, invisible machine applique, but with DMC Machine Embroidery thread or Aurifil 50wt. thread.
I love to stitch by hand, but there’s a time and a place for everything. Machine applique can be the perfect solution when you need to get it done fast. The four border scallops took me one evening to applique and you can hardly see any difference. I’ll let you in on some of my secrets!
You’ll need a few things to get started:
1. Thread to match the color of your applique. Use a 50 wt. thread on the top, and regular thread in the bobbin. (If you have a problem with your tension, try using the 50wt. in BOTH the bobbin and the top).
2. 70/10 Microtex machine needle
3. Roxanne’s Glue-Baste-It
4. Sewing machine with a variable overlock stitch (stitch #3 on the Bernina), blind hem stitch OR (if all else fails) a blanket stitch.
5. A knowledge of the Spray Starch Method of Applique: We’ve got a tutorial to get you started right here on this blog. Read it through and prepare your applique using the spray starch method.
Glue-baste your prepared applique to the background fabric. (Use a tiny line of glue next to the applique edge. You don’t want the applique to move while you are stitching.)
Now we’re ready to sew!
- Set your machine in the Needle down position.
- If you have a Bernina, choose the variable overlock stitch & mirror image the stitch. For other machines try the hem stitch or the blanket stitch.
- Stitch width at .5 to .7 (very tiny)
- Stitch length at .5 to .7
- Open toe foot & open stitch plate
- A good light and a great pair of glasses ( :
In the picture below I’m stitching right next to the edge of my scallop. The foot is my guide and I make sure it is always RIGHT next to my fabric. (If you have a machine where the needle doesn’t line up with the foot use your needle as the guide.)
I’m stitching into the background fabric, and barely catching the applique fabric. The machine takes a tiny “bite” of my fabric every few stitches . It’s just like hand applique, you want a tiny, tiny stitch.
If you stay right next to the edge of the fabric, and I mean RIGHT NEXT to the edge, your background stitches will hardly show. Just look at the photo below! Remember I’m stitching in red thread and you can’t see it.
And a view from the front of the scallop…
And here’s how it looks on the back of the fabric…you don’t ever want to rip out these tiny stitches so be careful!
I don’t use invisible nylon thread because I don’t like the feel or how it sews. Some instructors like it, but my preference is the 50 wt. cotton. The cotton is soft, and blends right into the fabric. It’s wonderful to sew with and just feels good!
And many years from now when someone picks up my redwork quilt, I know the cotton thread will still be feeling good!
The settings for each machine will vary so you have to practice to see what works on your machine. Questions? Email me and I’ll try to answer as they come up.
Hope this helps!
Hugs,


63 Comments
Yvette
I can’t wait to see the whole quilt! I have to have the pattern!
I have Pearl’s DVD and do all my applique using her method. Now I can try it using my sewing machine too. THANK YOU!!
Anonymous
oh,I knew this would be great and it is! The work is flawless and beautiful! I can hardly wait for this to be revealed,I love Redwork,you have captured the very look I just love. Good job! Great tutorial!Where can I purchase this DMC thread? Have not seen it available in my area. Will it be on your site?
Mandi
I adore redwork! Can’t wait to see a photo of it after quilting is done!